The Product Management page allows you to add new products to your inventory or edit existing ones. This comprehensive form enables you to input product details, upload images, generate AI-assisted content, and configure marketplace listings all in one place. This guide will walk you through each section of the product form.
Overview
The Add/Edit Product page is divided into several key sections:
Product Images
Upload, arrange, and manage product images with drag-and-drop functionality, camera capture, or image URLs.
Basic Information
Enter essential product details like title, price, description, quantity, and cost.
Marketplace Settings
Configure which marketplaces (eBay, Hip Comic, Clover, OneSource) to list your product on.
Product Identifiers
Manage SKU, UPC, and ISBN identifiers for your product.
Getting Started
To add a new product or edit an existing one:
Access the Product Page
For a new product: Navigate to Products > Add New Product from the seller dashboard.
For editing: Click on the Edit button next to a product in your All Products list.
Fill Out the Form
Complete the product details in each section of the form as described in this guide.
Save Your Product
Click the "Add Product" or "Update Product" button at the bottom of the form to save your changes.
Product Management Page
This is the main page where you can add or edit product details:
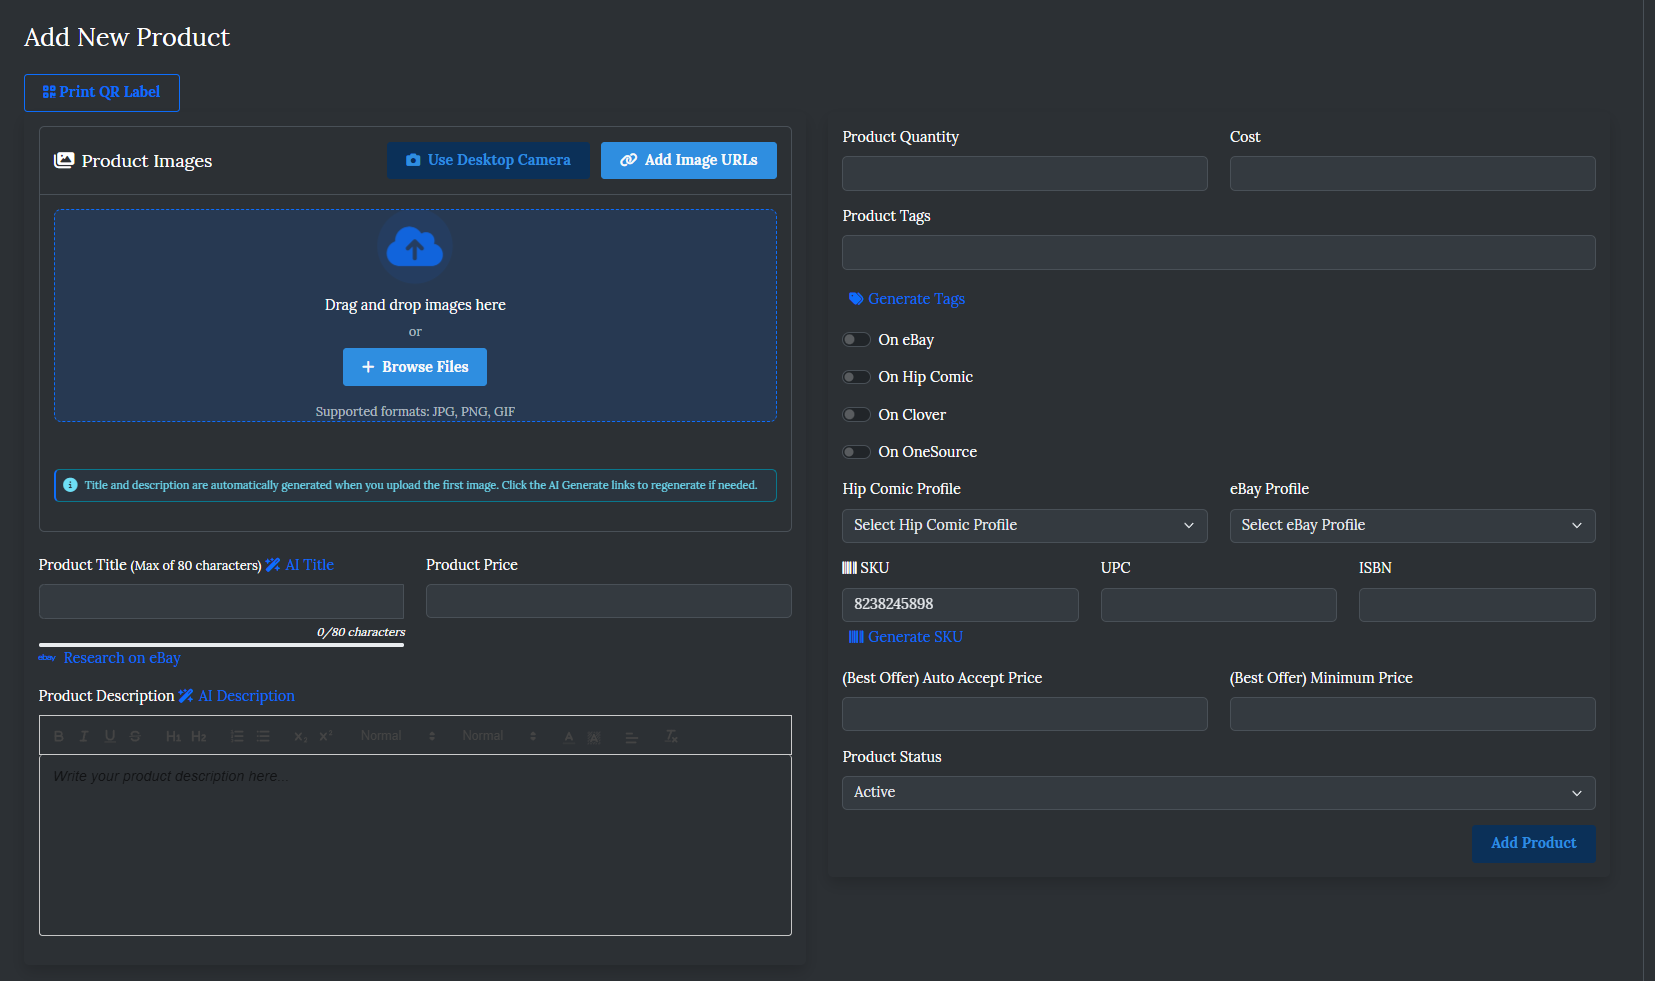
The Add/Edit Product page with various sections for product details, images, and marketplace settings.
Managing Product Images
Product images are crucial for attracting buyers. The system offers multiple ways to add images:
Drag and Drop
Simply drag image files from your computer and drop them into the designated upload area.
Browse Files
Click the "Browse Files" button to select images from your computer using the file explorer.
Use Desktop Camera
Click the "Use Desktop Camera" button to capture images directly using your computer's webcam.
Add Image URLs
Click the "Add Image URLs" button to add images from external web addresses.
Arrange Images
Once uploaded, you can drag and drop images to reorder them. The first image will be the main product image.
Image Upload Section
The image upload area supports multiple upload methods:
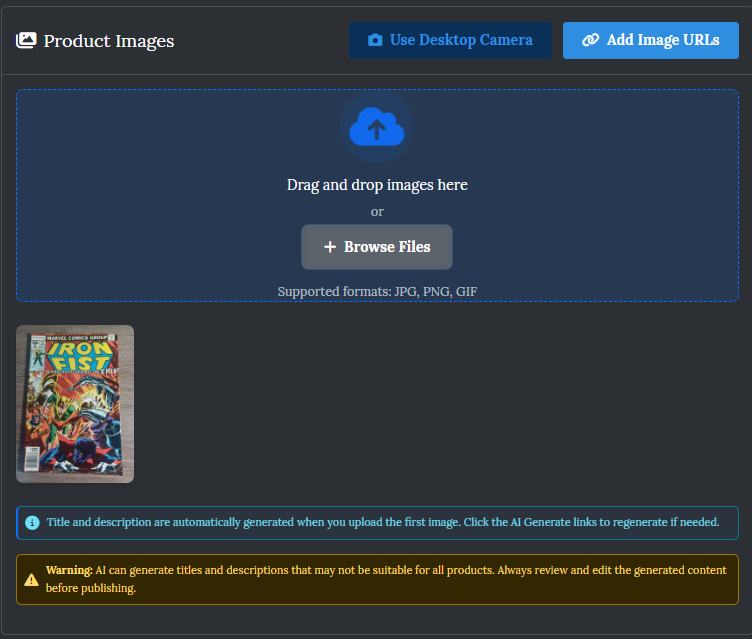
The image upload section with drag-and-drop area and additional upload options.
Basic Product Information
Enter the essential details about your product:
Product Title
Enter a descriptive title (maximum 80 characters). Click the "AI Title" button to generate a title based on your product images.
Product Price
Set the selling price for your product.
Product Description
Write a detailed description using the rich text editor. Click the "AI Description" button to generate a description based on your product images.
Product Quantity
Enter the number of units available for sale.
Cost
Enter your cost for the product (for profit calculation purposes).
Product Tags
Add relevant tags to improve searchability. Click "Generate Tags" to automatically create tags based on your title and description.
Marketplace Settings
Configure which marketplaces your product will be listed on:
eBay Settings
Toggle "On eBay" to list the product on eBay. Select an eBay profile from the dropdown menu. You'll need to create an eBay profile first if you haven't already.
Hip Comic Settings
Toggle "On Hip Comic" to list the product on Hip Comic. Select a Hip Comic profile from the dropdown menu.
Clover Settings
Toggle "On Clover" to add the product to your Clover POS system.
OneSource Settings
Toggle "On OneSource" to list the product on your OneSource-managed website.
Product Identifiers
Manage unique identifiers for your product:
SKU (Stock Keeping Unit)
Click "Generate SKU" to automatically create a unique SKU for your product, or enter your own. The SKU becomes read-only after initial creation.
UPC (Universal Product Code)
Enter the product's UPC if available. This becomes read-only when editing an existing product.
ISBN (International Standard Book Number)
Enter the product's ISBN if applicable (primarily for books). This becomes read-only when editing an existing product.
eBay Best Offer Settings
If you're listing on eBay with Best Offer enabled, configure these settings:
Auto Accept Price
Set a price at which offers will be automatically accepted. For example, if your listing is $100 and you set auto-accept to $90, any offers of $90 or higher will be automatically accepted.
Minimum Price
Set a price below which offers will be automatically declined. For example, if your listing is $100 and you set minimum price to $75, any offers below $75 will be automatically declined.
Product Status
Set the visibility and availability status of your product:
Draft
Save the product as a draft to continue working on it later. Draft products are not visible to customers or listed on marketplaces.
Active
Make the product active and available for sale. Active products will be listed on the selected marketplaces.
Inactive
Temporarily hide the product from view without deleting it. Inactive products are not available for purchase.
QR Label Printing
If enabled, you can print QR code labels for your products:
Generate QR Code
Click the "Print QR Label" button at the top of the form to generate a QR code for your product.
Print Label
The system will generate a printable label with the product's QR code, which can be used for inventory management and quick scanning.
Best Practices
High-Quality Images
Upload clear, well-lit images from multiple angles. The first image should be the most representative of your product.
Detailed Descriptions
Include comprehensive details about condition, dimensions, features, and any flaws. Use the rich text editor to format your description for readability.
Relevant Tags
Use specific, relevant tags to improve discoverability. Include brand names, categories, and key features.
Save Frequently
For complex products, consider saving as a draft periodically to prevent data loss before completing all fields.
Troubleshooting
Image Upload Issues
If images fail to upload, check that they're in a supported format (JPG, PNG, GIF) and not too large. Try refreshing the page and uploading again.
Marketplace Selection Errors
If you can't select a marketplace, ensure you've created the necessary profiles and connected your accounts in the settings.
AI Generation Not Working
If AI title or description generation fails, try uploading clearer images or manually enter the information.